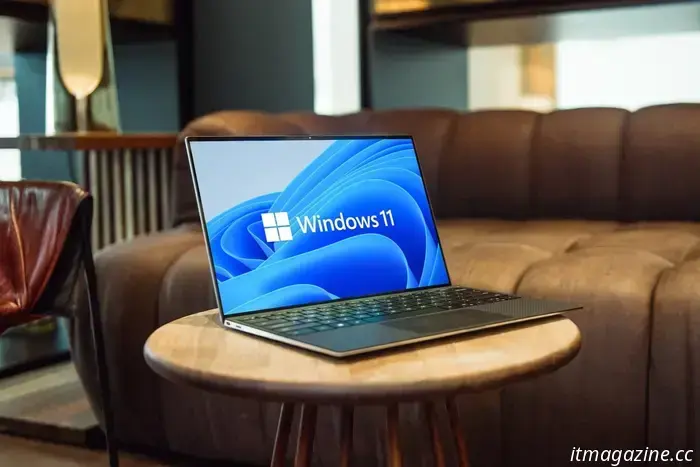
6 security settings I consistently modify on a new Windows PC
It's easy to want to immediately personalize a new Windows 11 PC with apps, wallpaper, and other features. I know the feeling—there's something about customizing a new device that makes it feel personal. However, before diving into the fun, I prefer to take a moment to secure the settings. A little effort in this area leads to peace of mind, especially with numerous online threats present today. After all, there's nothing that dampens the joy of a new PC quicker than encountering a virus or a security issue.
Here are the settings I adjust each time I set up a new Windows 11 PC and the reasons behind them.
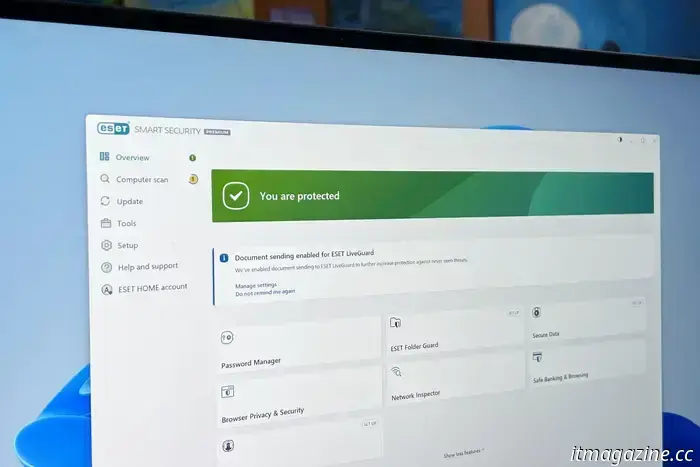
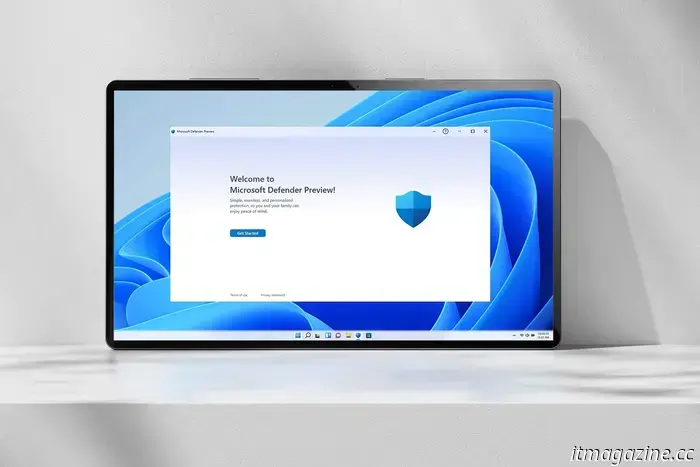
1. Install a trusted antivirus
One of my first steps with any new Windows 11 PC is to install a high-quality antivirus program. I have been using ESET for years and appreciate how it has kept my PC secure. It has saved me multiple times from unsafe sites and file downloads, and I value the Safe Banking and Browsing feature for handling my financial transactions securely. These are just a few reasons I continue using it after all these years.
I always suggest opting for a top-notch antivirus since threats can arise from various sources, such as dubious email attachments, harmless-looking pop-ups, or even fraudulent browser extensions. That said, no antivirus is flawless. ESET can occasionally be too vigilant, flagging apps or websites I trust. However, I'd prefer to address a false positive than risk allowing something harmful to slip through. While free options can provide basic protection, I opt for a premium solution for added peace of mind.
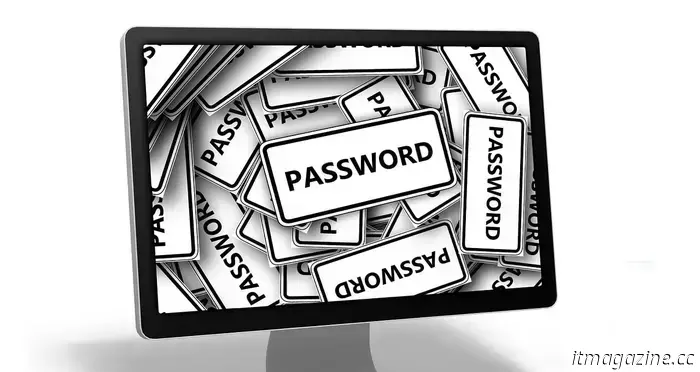
2. Turn off passwordless sign-in
Despite Windows encouraging passwordless sign-in for convenience, I always disable this feature. It creates significant security risks—if someone physically accesses your computer, they can easily get into your files. Even if you're alone at home, traveling with your laptop can put it at risk; if it's stolen, anyone who takes it gains immediate access to your information. It's much wiser to take the time to set up a strong password. Utilizing a top password manager can assist in creating a robust password. I still use the fingerprint reader on my Windows 11 laptop for quick logins, but only as an additional layer, not as the sole security measure.
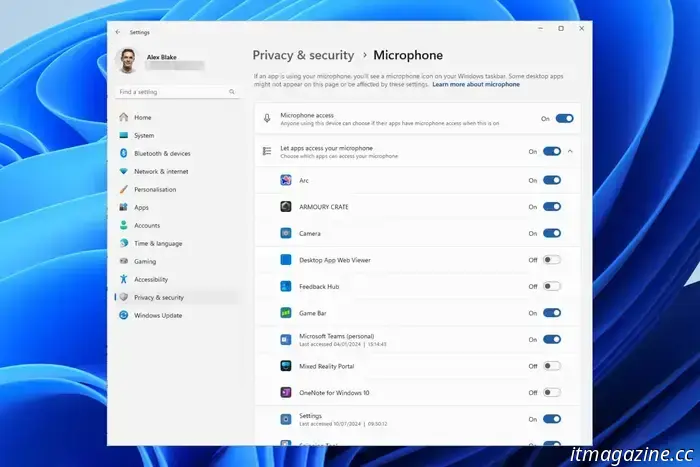
3. Reviewing app permissions
After addressing the two previous settings, I review which apps can access specific features like my location, microphone, and camera. Apps often request more permissions than necessary, so it’s worth checking these settings. It can be easy to overlook app permissions until you dive into the settings.
On a new Windows 11 PC, navigate to Settings > Privacy and Security, and scroll down to the "App permissions" section. From there, I can manage app access to my microphone, location, camera, and other sensitive features. If an app has access that I can't recall approving, I disable it. Unless it’s a specific app like Zoom or Maps, there’s typically no good reason for an app to have default access to your data.
This process only takes a few minutes, but it allows for better control over app activities in the background and helps limit unnecessary data collection. It’s one of those adjustments that enhances your PC's respect for your privacy. Developers may request permissions in case they add features requiring them, but checking ensures you aren’t unwittingly granting access. I once noticed a calculator app asking for my location—definitely not necessary.
4. Turning off optional diagnostics data
Whether or not to disable optional diagnostic data is a personal decision. Personally, I choose to turn it off because I'm uncomfortable with it tracking my browsing habits, app usage, and device activities. By default, your PC sends basic system information to Microsoft, but it also offers the option to send additional data regarding your use of settings, apps, and the websites you visit in Edge. I always opt to turn this off, and if you want to do the same, go to Settings > Privacy and Security > Diagnostics and Feedback. The choice is yours, but I would recommend opting out.
5. Enable BitLocker (if available)
For users on Windows 11 Pro, activating BitLocker is a wise decision. This built-in encryption tool safeguards the entire drive, meaning that if your laptop is stolen, a thief can't simply remove the hard drive and access your files on another PC. To locate it, go to Settings > Privacy and security, then scroll down to find BitLocker Drive Encryption in the Related settings section. If it’s available but not yet enabled, consider turning it on. Just remember to back up your recovery key in a secure location, as you will need it if you ever become locked out. While it may seem unlikely that your laptop will go missing, one unforeseen moment can change that. I would rather invest a few minutes in setting up encryption than worry about my files ending up in the wrong hands.
Keeping your PC secure
Most users only consider security when a problem arises. However, a few simple adjustments during

Other articles
 Google Fi was already my top choice for eSIM while traveling, and now it’s even improved.
Google Fi was already my preferred eSIM for travel, but Google has just introduced a range of enhancements that make it even more appealing. Here's why!
Google Fi was already my top choice for eSIM while traveling, and now it’s even improved.
Google Fi was already my preferred eSIM for travel, but Google has just introduced a range of enhancements that make it even more appealing. Here's why!
 China's Pony.ai, a competitor to Waymo, has reduced the cost of its self-driving technology stack by 70%.
According to CEO James Peng, the latest generation of robotaxis from Pony.ai are priced 20%-30% less than those from its US competitor Alphabet’s self-driving division, Waymo.
China's Pony.ai, a competitor to Waymo, has reduced the cost of its self-driving technology stack by 70%.
According to CEO James Peng, the latest generation of robotaxis from Pony.ai are priced 20%-30% less than those from its US competitor Alphabet’s self-driving division, Waymo.
 My preferred web browser is one that you may have overlooked – and you definitely shouldn’t.
The Opera browser is constructed on the same core as Chrome, yet it provides a variety of unique features that have significantly enhanced my productivity.
My preferred web browser is one that you may have overlooked – and you definitely shouldn’t.
The Opera browser is constructed on the same core as Chrome, yet it provides a variety of unique features that have significantly enhanced my productivity.
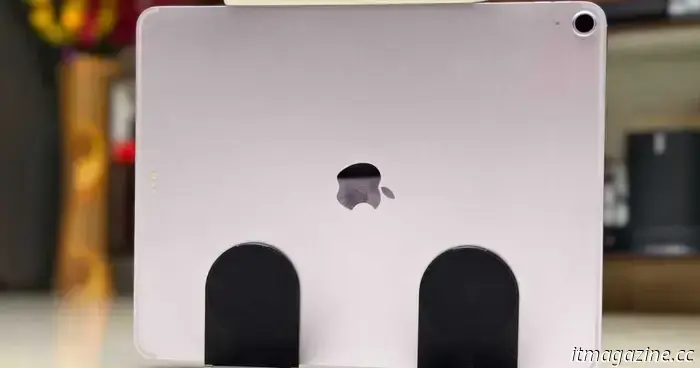 How a $30 accessory transformed my iPad Air into the ideal companion for travel and streaming.
The Rolling Square Edge Pro Core is changing how I use my 13-inch iPad Air, enhancing its portability and user-friendliness.
How a $30 accessory transformed my iPad Air into the ideal companion for travel and streaming.
The Rolling Square Edge Pro Core is changing how I use my 13-inch iPad Air, enhancing its portability and user-friendliness.
6 security settings I consistently modify on a new Windows PC
These are the Windows 11 security settings I promptly adjust as soon as I can.